How To Refinish Antique Furniture, The Easy Way
I have had plans to do this project for several years now. My grandmother gave me this stereo cabinet that has been in her house since she bought it new in the early 1970’s. I can remember playing in, around and on this thing when I was a kid, with my cousins and brothers. There was no doubt in my mind that I wanted to bring it back to its former glory, given the sad state of disrepair it had fallen into. My hope is that in restoring it, it will be a nice piece for my house that I can one day hand down to my daughter.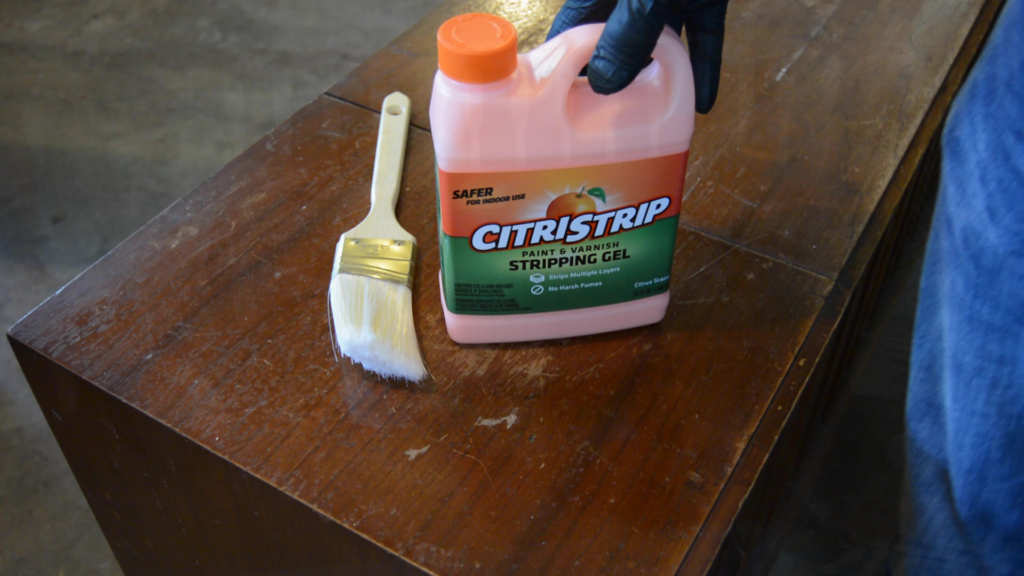
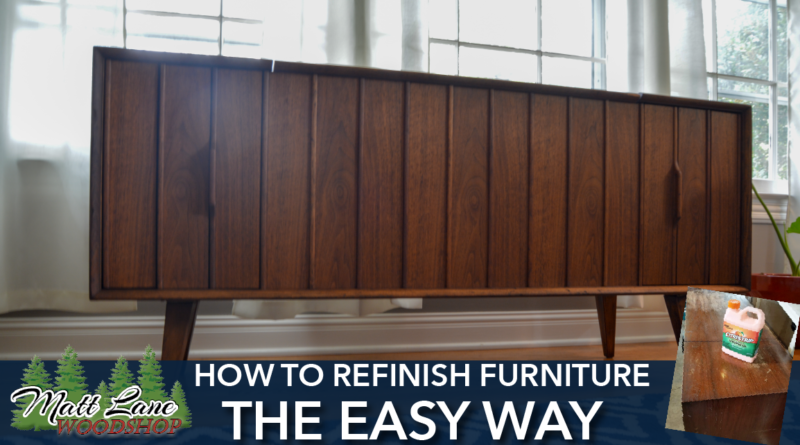
This particular cabinet originally had an oil finish applied to it, but somewhere down the line, someone applied a polyurethane finish on the top which added to the mess that the finish was already in. I figured that the best route for removal for both finishes would be to use a chemical stripper. I decided to use a stripper that would not emit such harm fumes versus your typical chemical stripper. There are two reasons for this, A. I don’t want to subject myself to it and B. my shop is attached to the house, and I did not want those fumes finding their way into the house and affecting my family. This was my first time using this particular stripper, or even stripping furniture for that matter. It was a learn-as-you-go process for me.
 The first step in the refinishing process is to apply the paint stripper. I gathered up some latex gloves and an old throw away brush to apply the stripper. I started in a small area to see how the stripper would react and how long it would take to remove the finish before moving on to a larger area. I applied it to the first small area, letting it sit for 30 -45 minutes before doing a small test scrape to see how the stripper was working. I could tell after the initial scrape that anywhere from 30 minutes to an hour was an adequate amount of time to remove this type of finish. One piece of advice from a follower on Instagram was not to let the stripper to dry. I made sure to heed this advice.
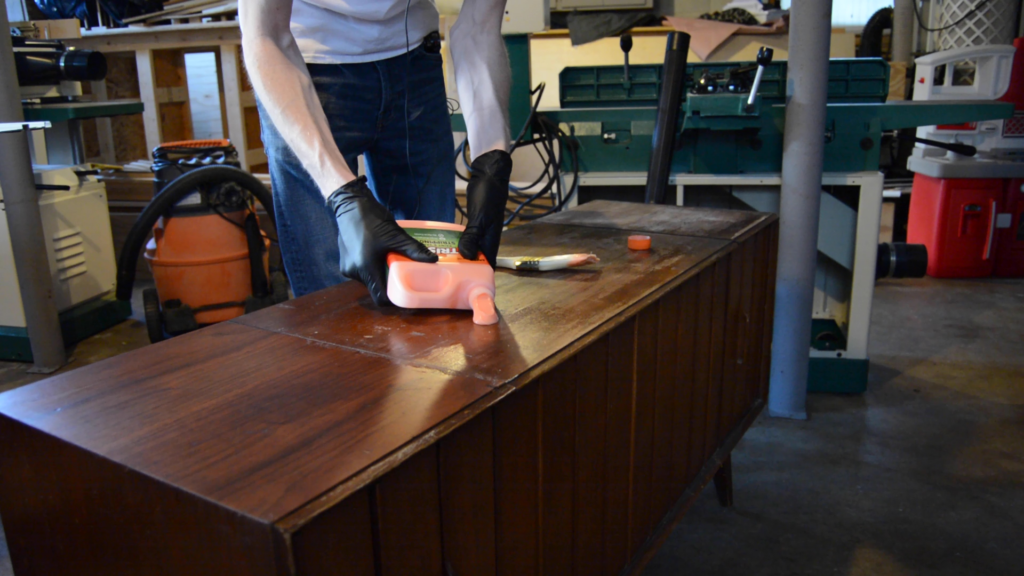
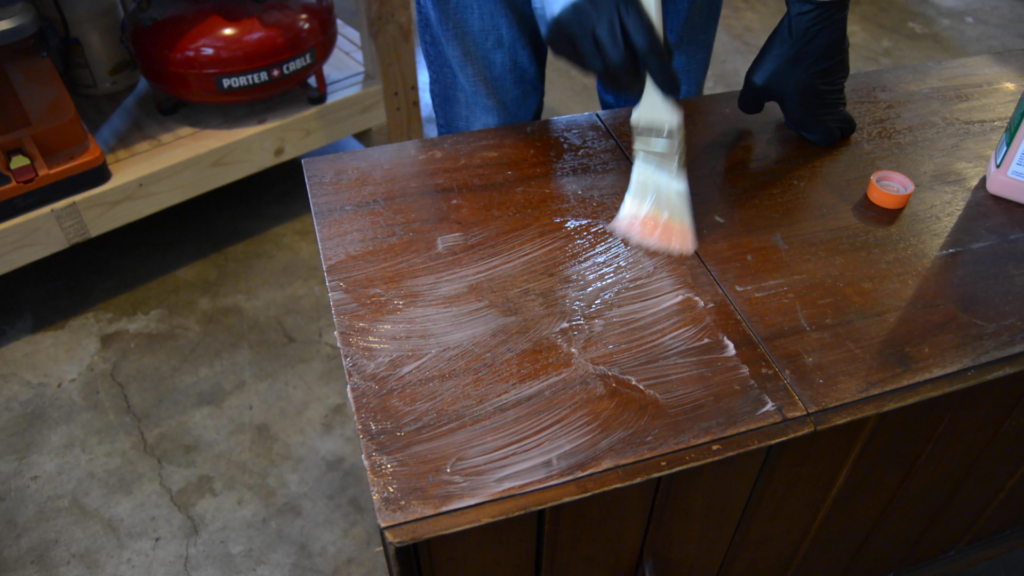
Once I was confident with how this stripper worked and had a good handle on how to go about removing the rest of the finish, I began applying to a larger area. I poured a much larger glob of the stripper and spread it out over the remaining portions of the top and sides. I allowed that time to work and then scraped it off into a cardboard box. I then applied the stripper to the front of the cabinet and repeated the process. I ended up applying a second coat to the top because I felt like it needed it. Depending on the type and amount of finish is on your particular project you may have to apply multiple times as well.
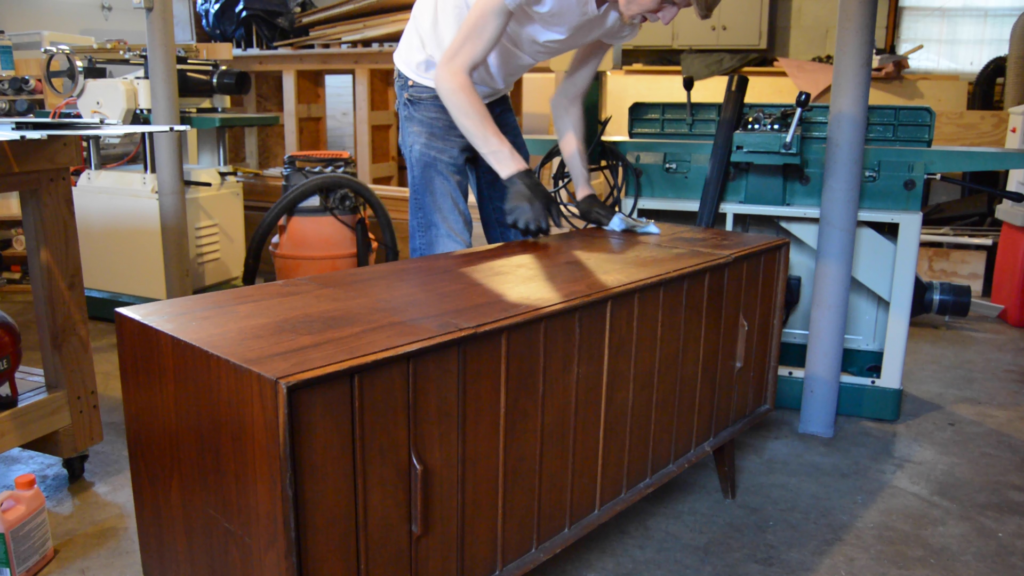
Once I was confident that I had all of the finish removed, I wiped down the cabinet with an old, dry cloth to remove any excess stripper. I then went over the entire cabinet with mineral spirits and a combination of an old rag and a dish sponge to help remove excess out of the cracks and crevices.
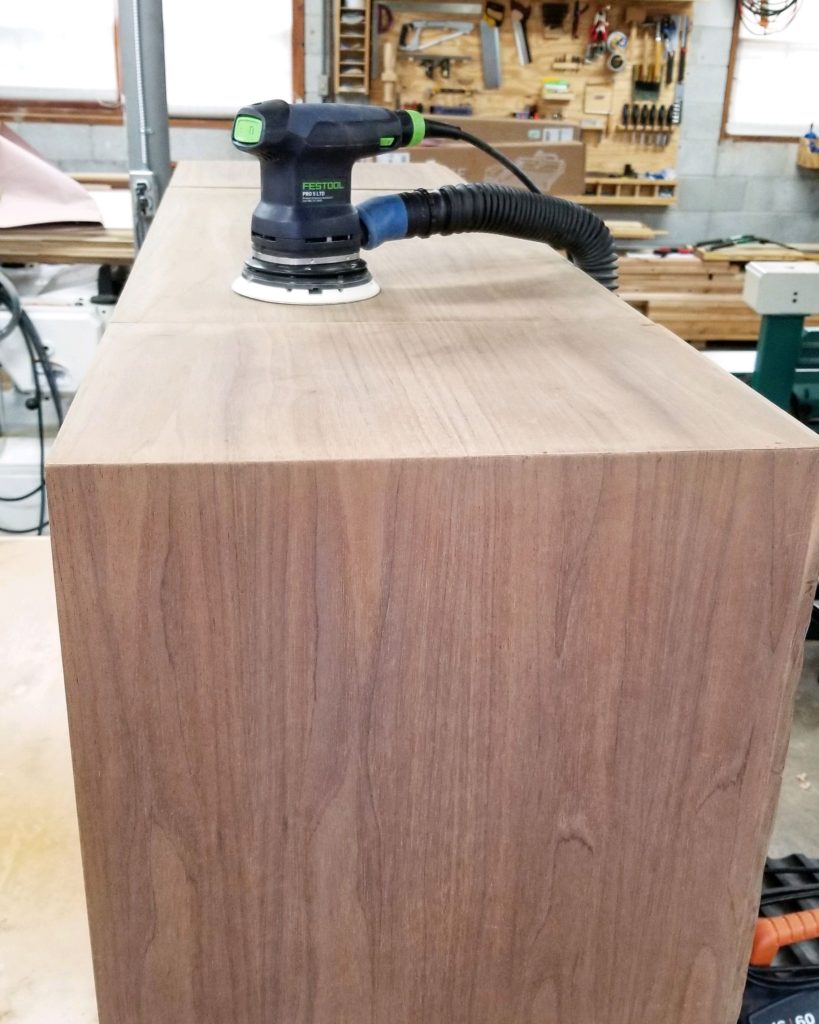
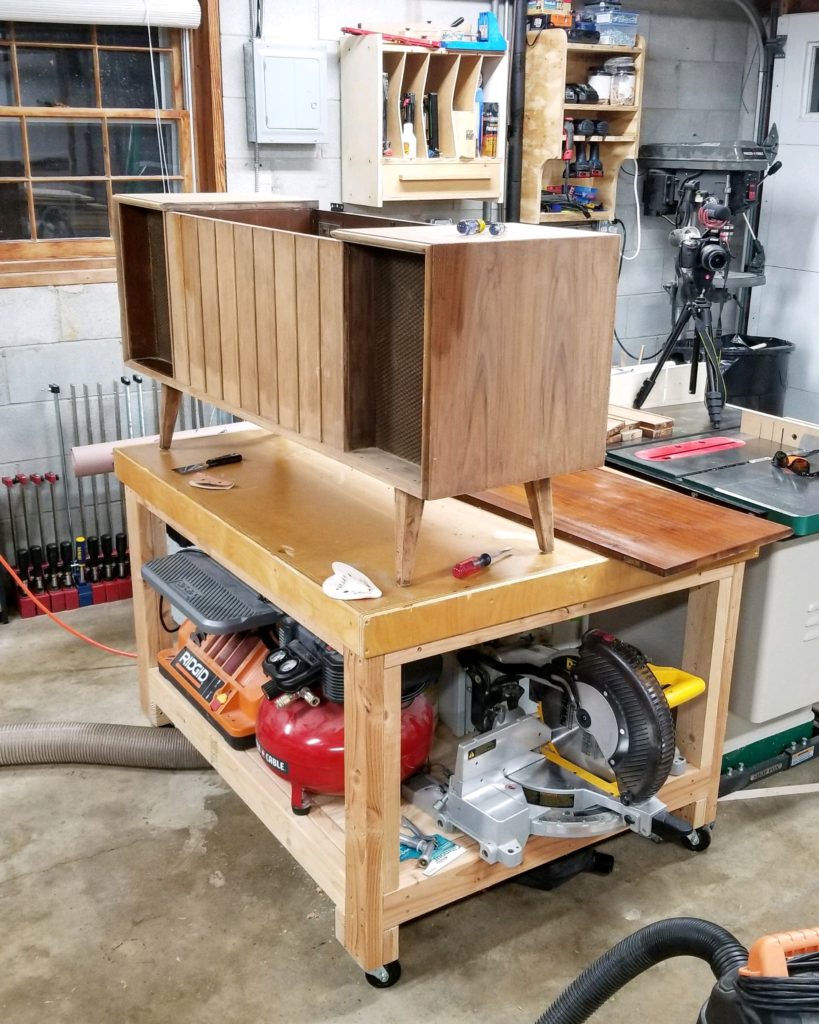
The two steps that I didn’t show during the refinishing project were the disassembly and the sanding. The disassembly is not necessary but it makes it a lot easier when it comes to sanding all the parts, especially those hard to reach areas. If you do decide to disassemble your piece, be sure to take your time and label everything. You will thank yourself when you are putting it back together.
The amount of sanding that you do on your project is completely up to you and dependent on the type of overall finish you are aiming for. I was not looking for a flawless refinish, I only wanted to knock out a few of the rough spots and smooth it out a bit while still keeping the character intact. I hit a few of the roughest spots with 80 grit, then sanded the entire cabinet with 100, 120, 180 and finished up with 220 grit by hand. Once I felt like I had the piece sanded to my liking I vacuumed all of the parts really well to remove the bulk of the loose dust then reassembled the cabinet.
Once the cabinet was back together I gave it one final wipedown with a clean rag and mineral spirits in preparation for the finish. I left it overnight to dry out before applying the finish.
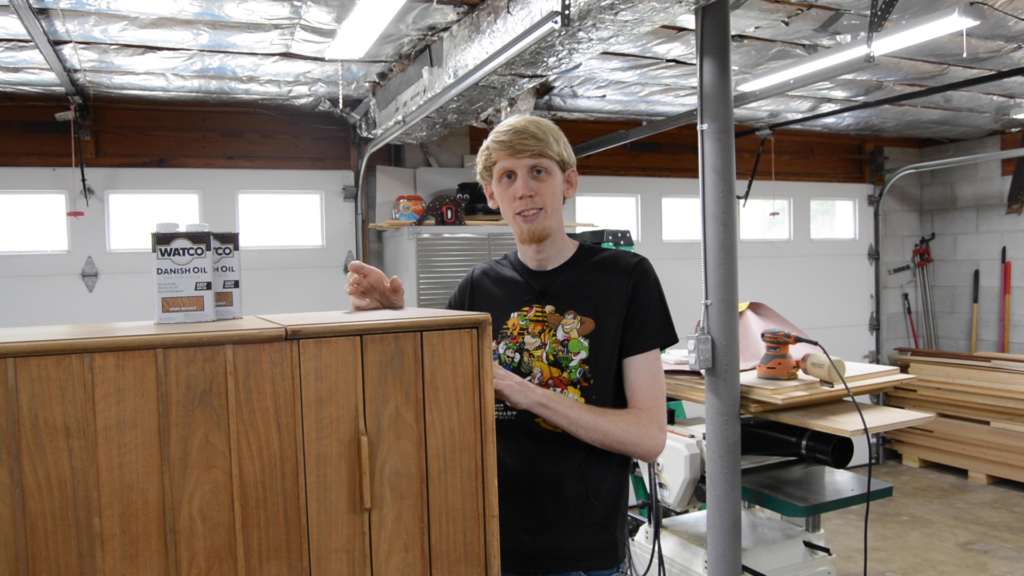
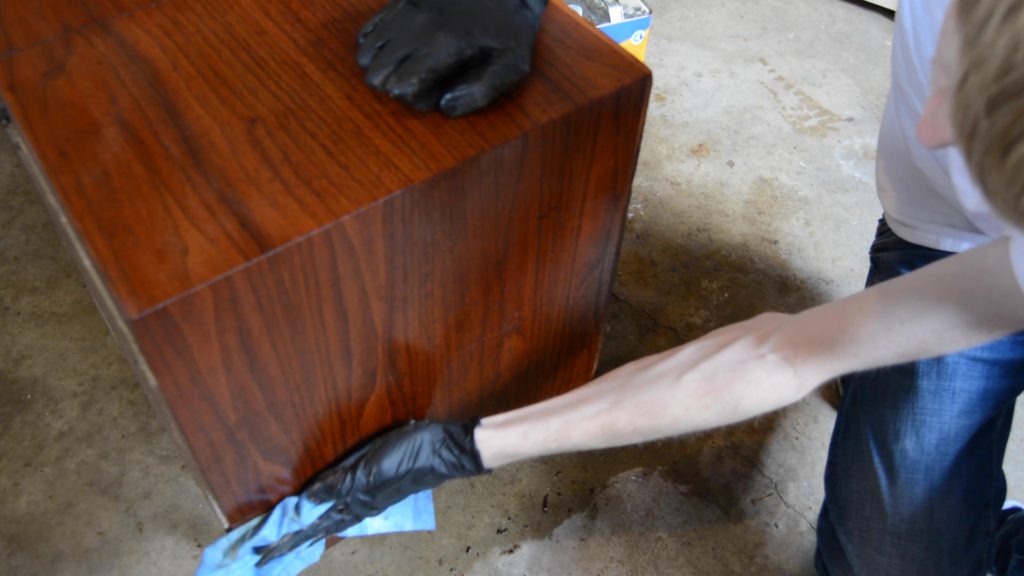
The finish I choose for this project is Watco Danish Oil in Dark Walnut. I picked this finish in particular for two reasons. 1. It’s simple to apply and 2. Because it is an oil finish if it ever needs to be reapplied, it is as simple as repeating these steps, no sanding required. I am using a cotton rag to apply the finish and then a clean cotton rag to wipe off after the second coat. The directions for this particular finish are as follows: flood the surface with finish, reapplying to any areas that quickly soak up, allow 15 minutes, then reapply in the same manner, after a second 15 minute period, wipe clean. That’s it, couldn’t be more simple, and it turned out great.
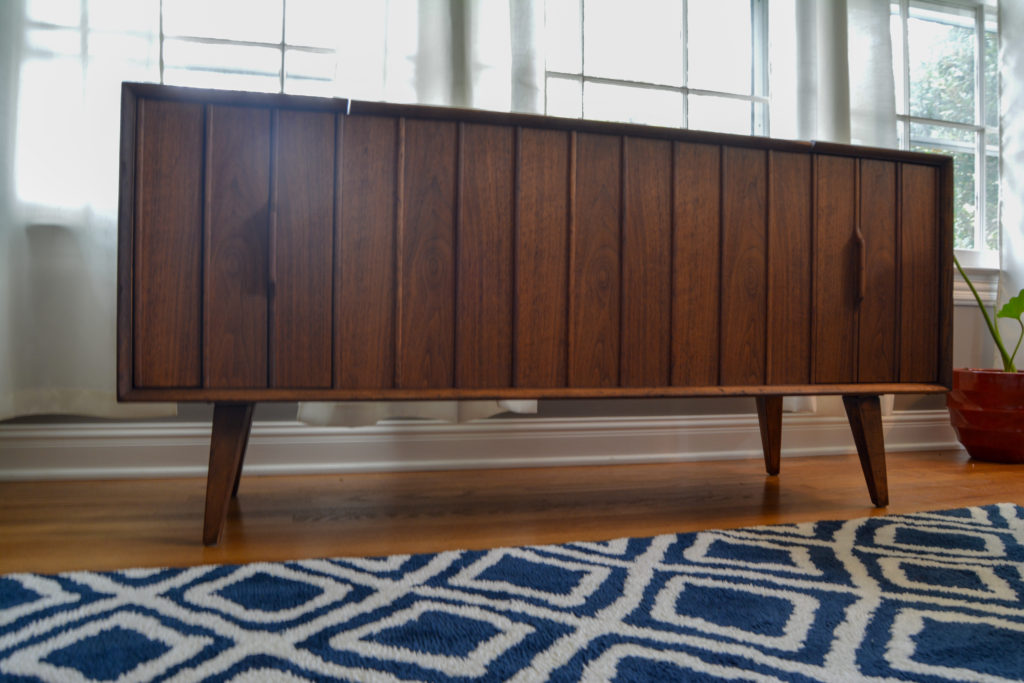
I am more than pleased with how this project turned out. This was a fairly simple project that mainly required a little time and some elbow grease, the stripper does the brunt of the work. I look forward to having this beautiful piece in my house for years to come.
For all of the products I used in this project you can check out my Amazon Influencers Page.
I may earn a small commission for my endorsement, recommendation, testimonial, and/or link to any products or services from this website. Your purchase helps support my channel and my website and bring you new project and plans.