Clamp Rack
This is a long overdue project much like all the shop projects that haven’t yet been built. I have been putting it off mostly because the clamps seemed just fine sitting in the floor, I mean they were quite handy at times being just an arms reach from my assembly table. It was after several times of knocking them over like a stack of domino’s that I decided it was time for a change.
I usually start all my projects by surfing the web until I find a design that either I like or that I can gain inspiration for my own idea. There are so many different clamp rack ideas out there that I just didn’t see the point in making my own plan just to call it my own design. I settled on this design due to the simplicity and the amount of space it saves on the wall while still holding a large amount of clamps. This design here holds 20 Parallel clamps, which is exactly what I have( I got a little lucky here because I didn’t count them until time to hang them on the rack haha).
I started by using a scrap of 3/4″ plywood that measured 28″ long by 12″ wide.
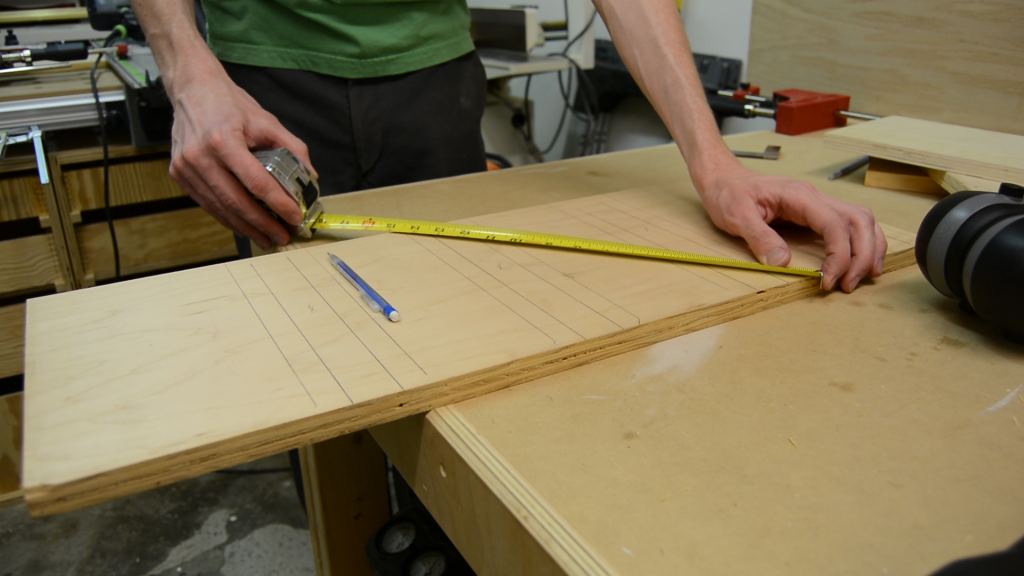
First made the marks for where the studs would fall and then laid the clamps out and spaced everything accordingly, you wanna make sure that you leave enough room between the vertical supports to easily slid the clamps in and out.

I was able to use a scrap of 3/4″ ply and mark all the vertical supports for the clamps on to the back piece of ply.
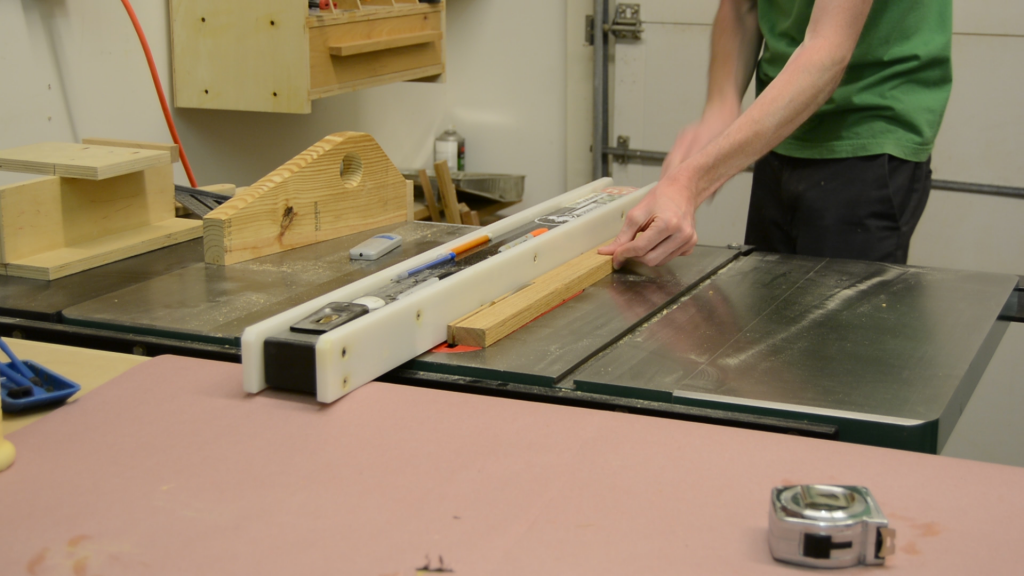
This allowed me to precisely pre drill through the front so that from behind I would know where the countersinks needed to be to attach the uprights with screws from behind. I spaced out 4 even holes for the uprights by using a tape measure trick where you find a measurement on the back piece that is easily divisible by whatever number you need, then you make a mark at each spot and then transfer the lines to each location for the holes to be drilled.

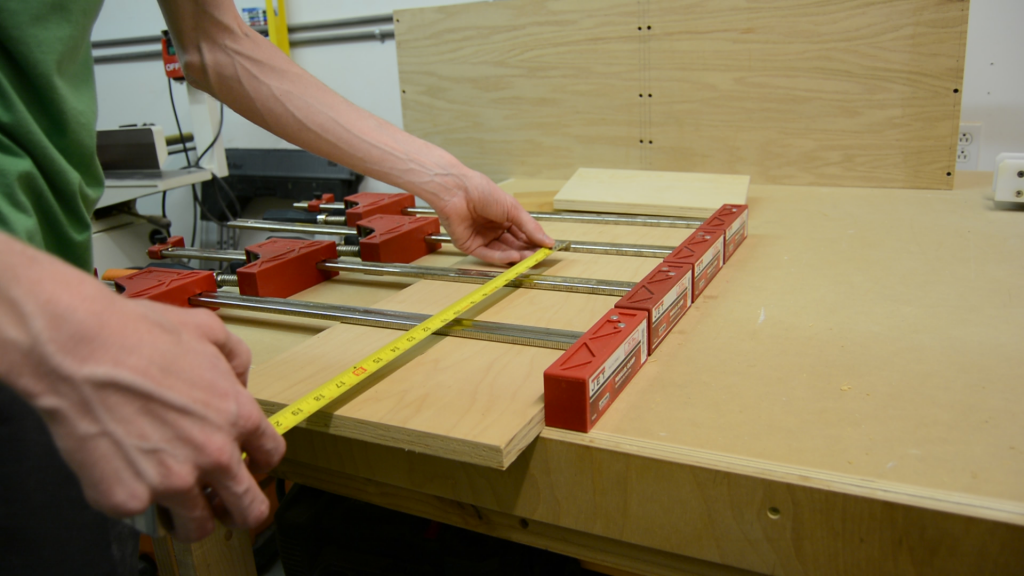
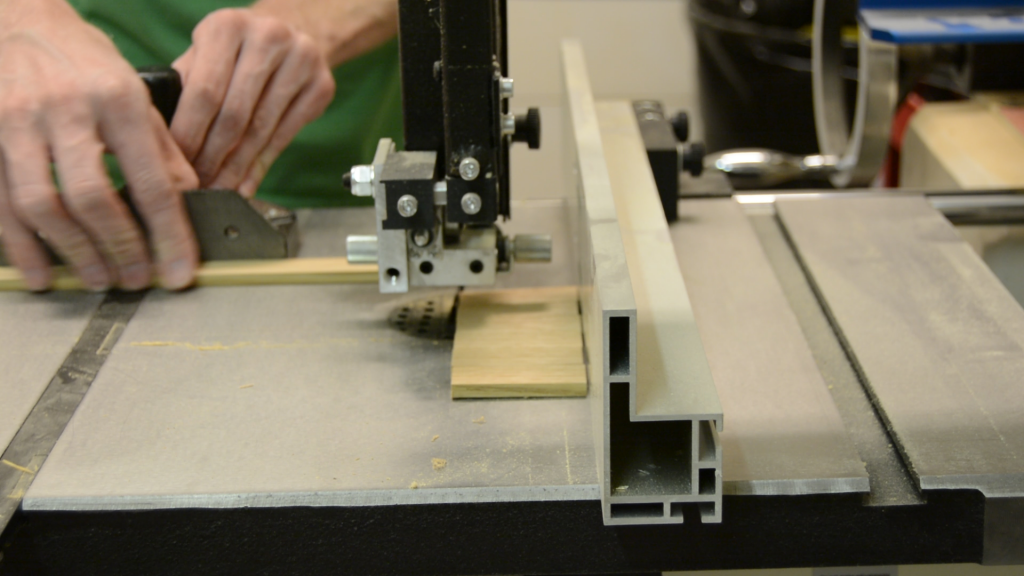
The upright supports came next, I ripped some 3/4″ ply into 9 1/2″ strips and then cross cut them into 11 1/2″ pieces. There were 8 of these to cut.
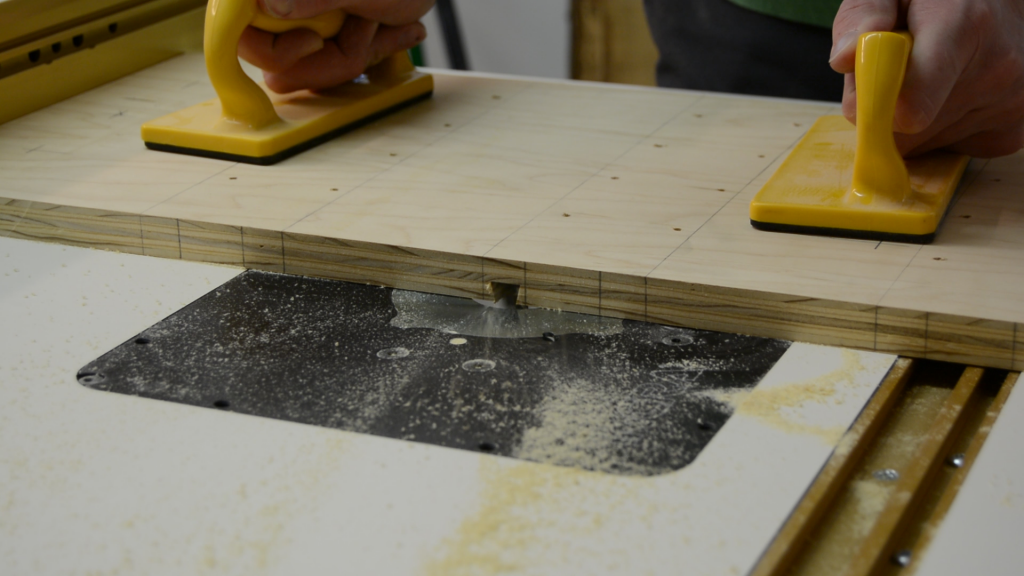
The mft makes quick easy work of the crosscuts!
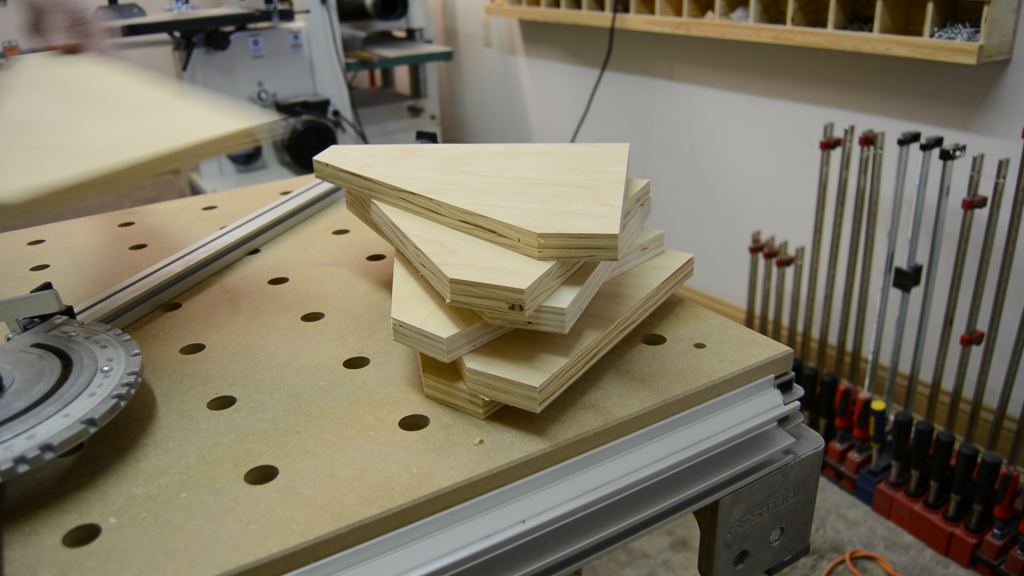
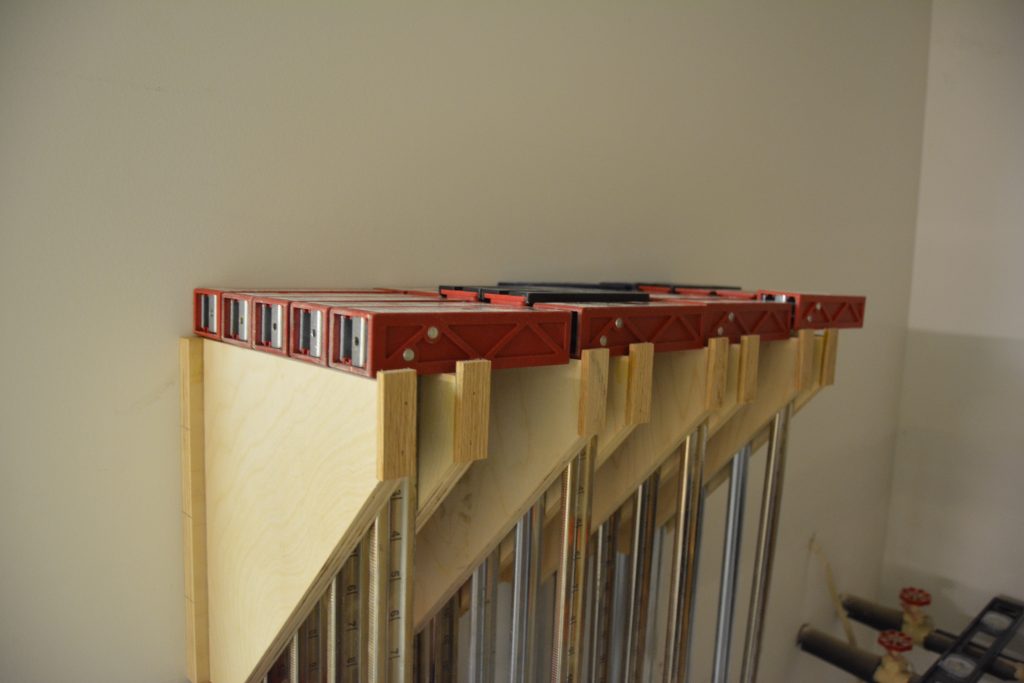
I then made a mark 2 inches down from the top and 2 inches in from the back at the bottom, connected the marks, and then cut the angles. The angles are really sort of arbitrary here, they are just to lighten the look and make it a little easier to access the clamps.
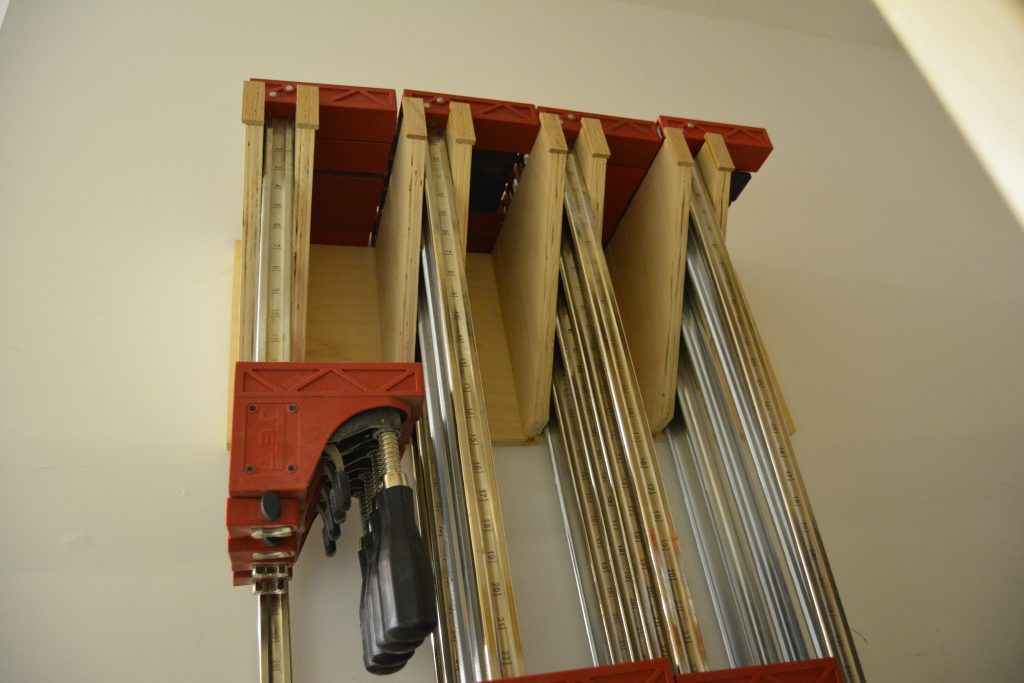
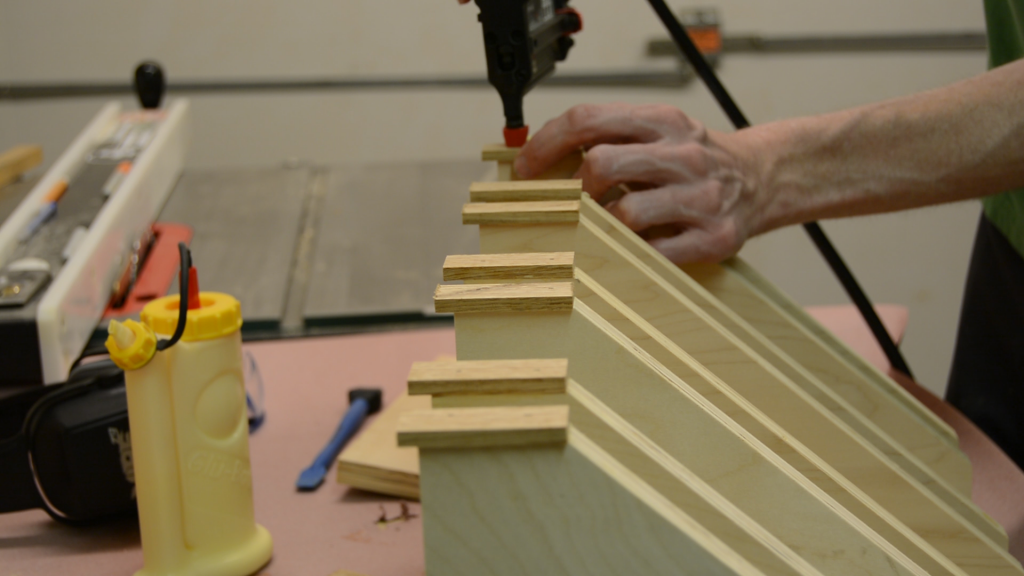
It was at this point that I decided to attach the uprights with sliding dove tails. You could probably just attach them with the screws drilled earlier, but I wanted something that would be a little stronger and to be honest, I just wanted to cut the sliding dove tails. This was something I haven’t yet incorporated into a project and had a lot of fun doing so. My thought was that with all the weight from the clamps pulling on the uprights, they would be less likely to fail if the had a joint that locked them into the back piece.
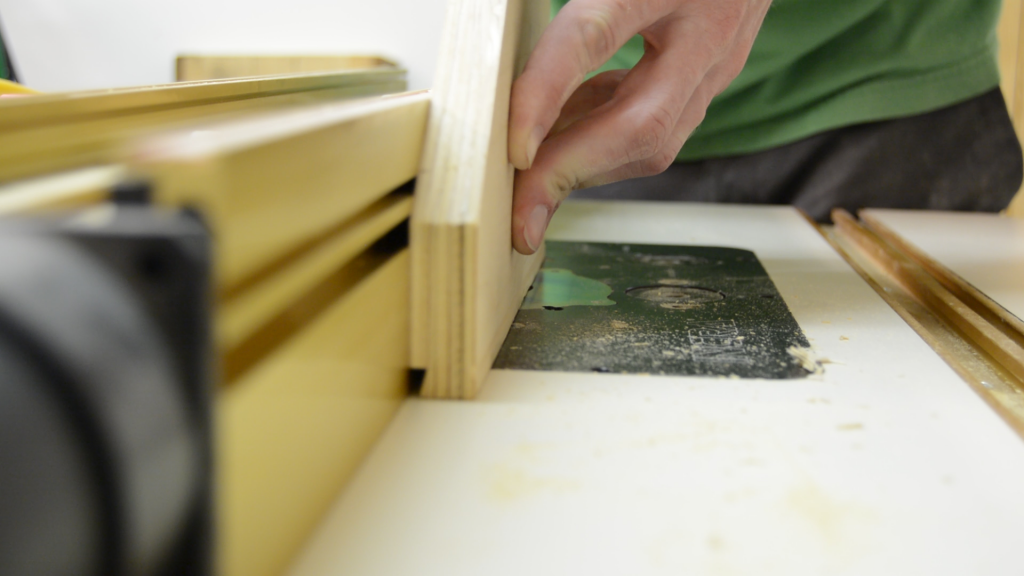
It took a series of sneak up cuts on the uprights to get everything fitting properly. The Incra system is great for this because of all the incremental adjustments.
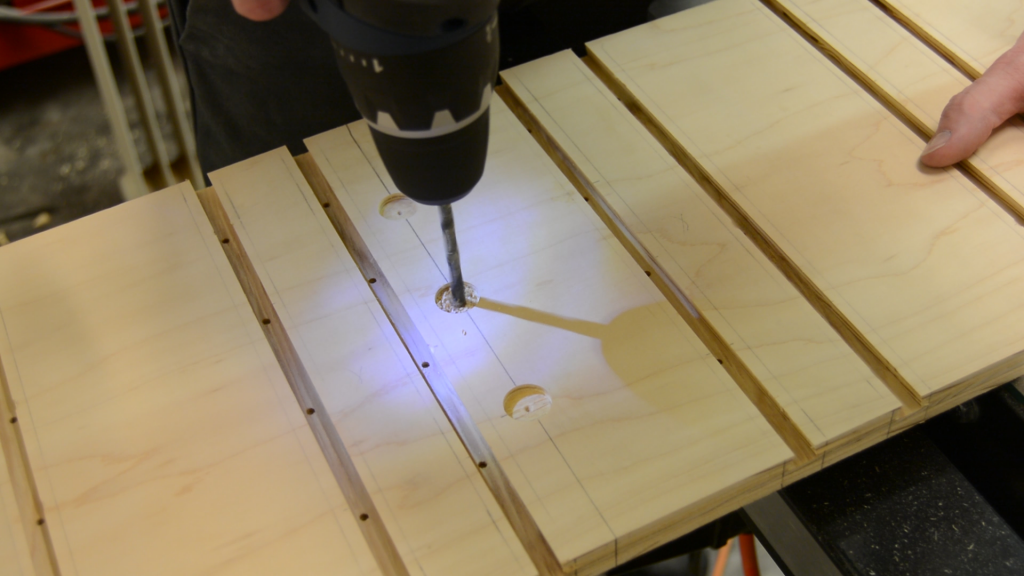
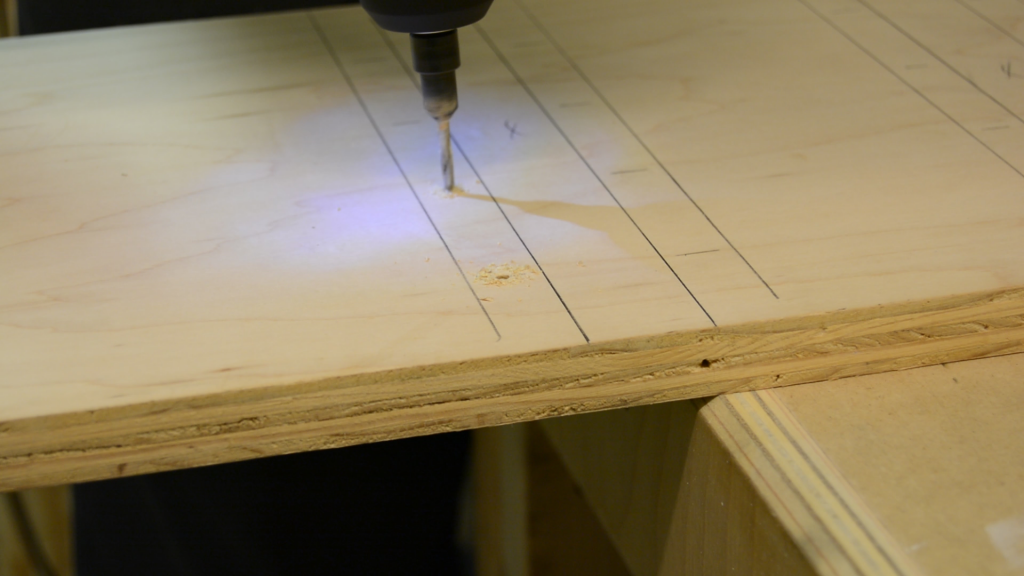
I made sure to drill the holes for the timber lock screws before gluing the uprights into place. This was done with a combination of a forstner bit at the drill press and a through hole with my cordless drill.

I spread the glue on both sides of the joint.

I still used the screws for extra insurance and to act as clamps while the glue dried in the dove tails. This made the gluing process go really fast.
I also decided to add some thin strips at the front of each vertical support to prevent the clamps from possibly sliding off.
The band saw worked great for cross cutting the thin strips of oak.
A little bit of glue and some brad nails are all that’s needed to to hold these in place.
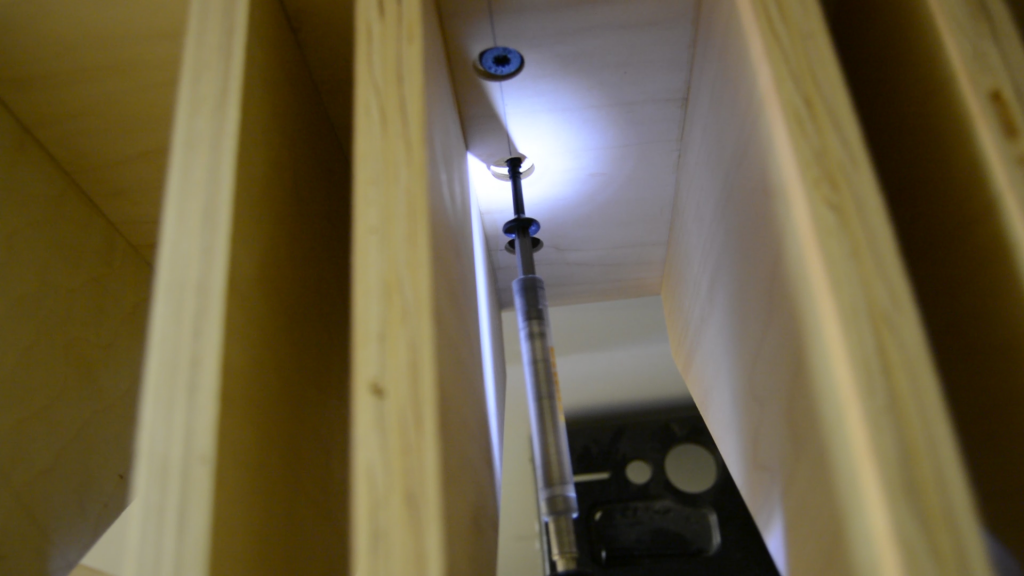
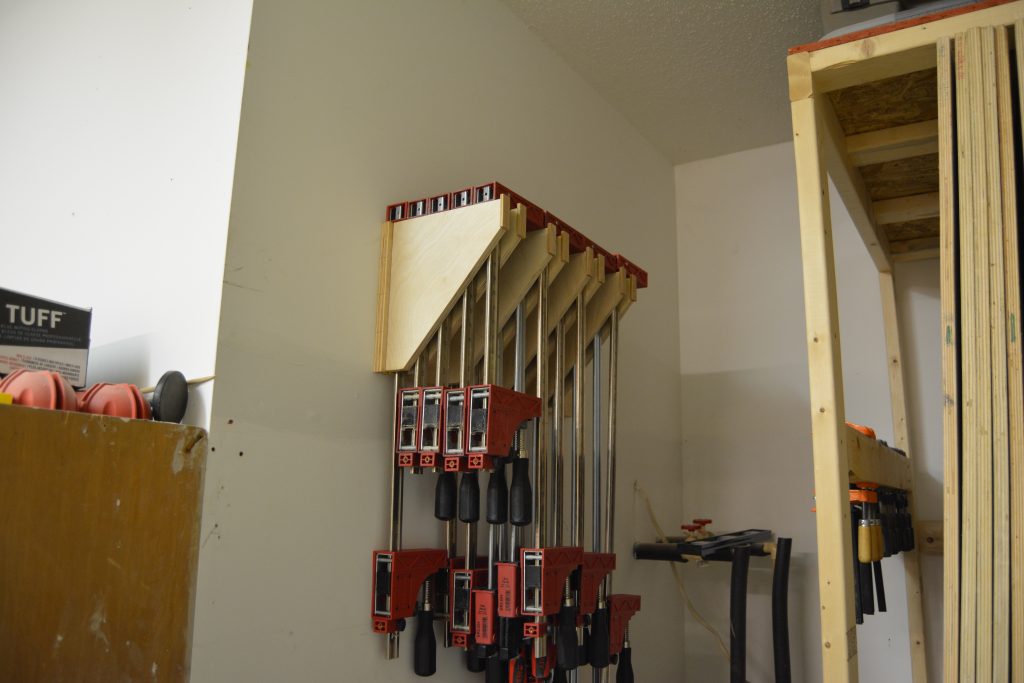
I attached the clamp rack with timber lock screws that I bought from the home store. I drove three of them evenly space through the back and into the wall studs. These are holding a lot of weight and need to driven into something very well anchored.
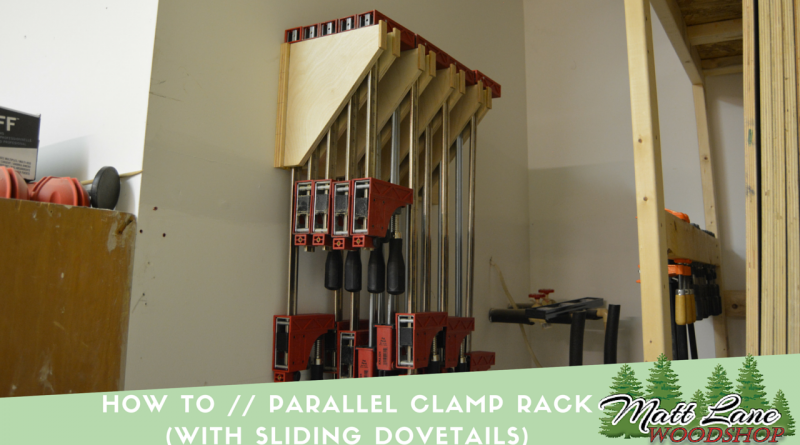
Here are a few shots of the finished clamp rack. I am glad that this is finally done and I realize that it wont be long until I probably have to build another one!!